Wednesday, November 30, 2011

Car Seat Canopy

There are a few luxury items that I really wanted to have when my daughter was born, but they were far from necessary!  This time around there is one item in particular that I really wanted!  A car seat canopy... this is basically a fabric tent that goes over the car seat and serves 2 main purposes.  If the baby is sleeping, it stays darker, and the baby sleeps sound.  Also, and this is the most important... I am due in February, and at the height of cold and flu season, you would think people would know better than to touch your newborn... but they don't!  This canopy prevents strangers with germy hands from touching your new child.
I ordered fabric for some burp cloths that a friend is making me, and I had a bunch left over!  As I was looking at one of the fabric cuts, I decided it was almost perfect for a canopy project!  I measured the car seat and decided that I needed a piece of fabric about 42x30", and 2 ties.  The fabric I had was 45x32, and I had an extra piece on the side that was 6x30". 
I cut the extra piece in half so that I had 2 3x30".  I folded the sides into the middle and folded the strip in half, and sewed it together.  I repeated on the second piece, and sewed the 2 straps onto the canopy.  I measured the carseat and needed the straps to be 24" from the front of the canopy, and 18 inches from the back.  After the straps were attached, I sewed an inch seam all the way around the canopy, and voila!


I was finished!  It took me about an hour, and I absolutely love it!

Total Cost $6 in fabric!

 -Jessica

Tuesday, November 22, 2011

Ultrasound Frame

We have been hard at work on Brady's nursery, and it is finally finished!  I love the room so much, and am so proud of the way it turned out!  I have been adding little things here and there, and one thing I really wanted was a picture with Brady's ultrasound in it.  I had looked around online, but these frames are far from cheap!  They range anywhere from $20-$40, and we all know that I would NEVER spend that kind of money on something I can make!!

So, off to Garden Ridge I went... and I found a red frame that matched Brady's room for $2.99!!  I can work with that!!  If you haven't heard of "Mini Prints" yet, it is one of my favorite way to print pictures!  Any "Kodak" picture print machine is capable of printing them.  On the home screen, click the "collage" option, and choose Mini Prints.  You can print 2 pictures on a 4x6 print or 4 pictures or 9 pictures!!  The best part is... you get more than one picture for the price of 1 4x6!!  I printed 2 ultrasound pictures on a 4x6, so the cost of my picture was $.29 divided by 2!  It was about $.14 for this picture!!

I flipped the insert that comes in the frame around, taped Brady's picture in, and printed out "patiently waiting for... Brayden Reade Farrar" on Microsoft Word!  I matted the quote on blue scrapbook paper, and taped it under the picture... SO SIMPLE!

Total Cost $3.13
Frame $2.99
Picture $.14

I love the finished project, and love that it cost me next to nothing!!!

 - Jessica

Thursday, November 10, 2011

Our "Baby Safe" Nativity Scene

We struggled at Christmas last year to find a place for our Nativity Scene that was visible, but out of reach of our daughter.  She was 10 months old last Christmas, and this year she will be 22 months!  Hard to believe she is almost 2, but that is a whole different subject! 
We decided to put the Nativity Scene in a bookcase upstairs, so that it stays safe, but I really wanted something to display the reason we celebrate Christmas downstairs as well!  I was browsing the fabulous world of pinterest, of course, and I found an idea that I fell in love with!  A hanging "silhouette nativity"... completely baby proof!!  I immediately started trying to think of ways that I could make this happen in our house!  I had a pack of vellum paper in my scrapbook arsenal, so I whipped it out.  The vellum paper is 8.5"x11", so it goes through the printer VERY easily.  I found a 
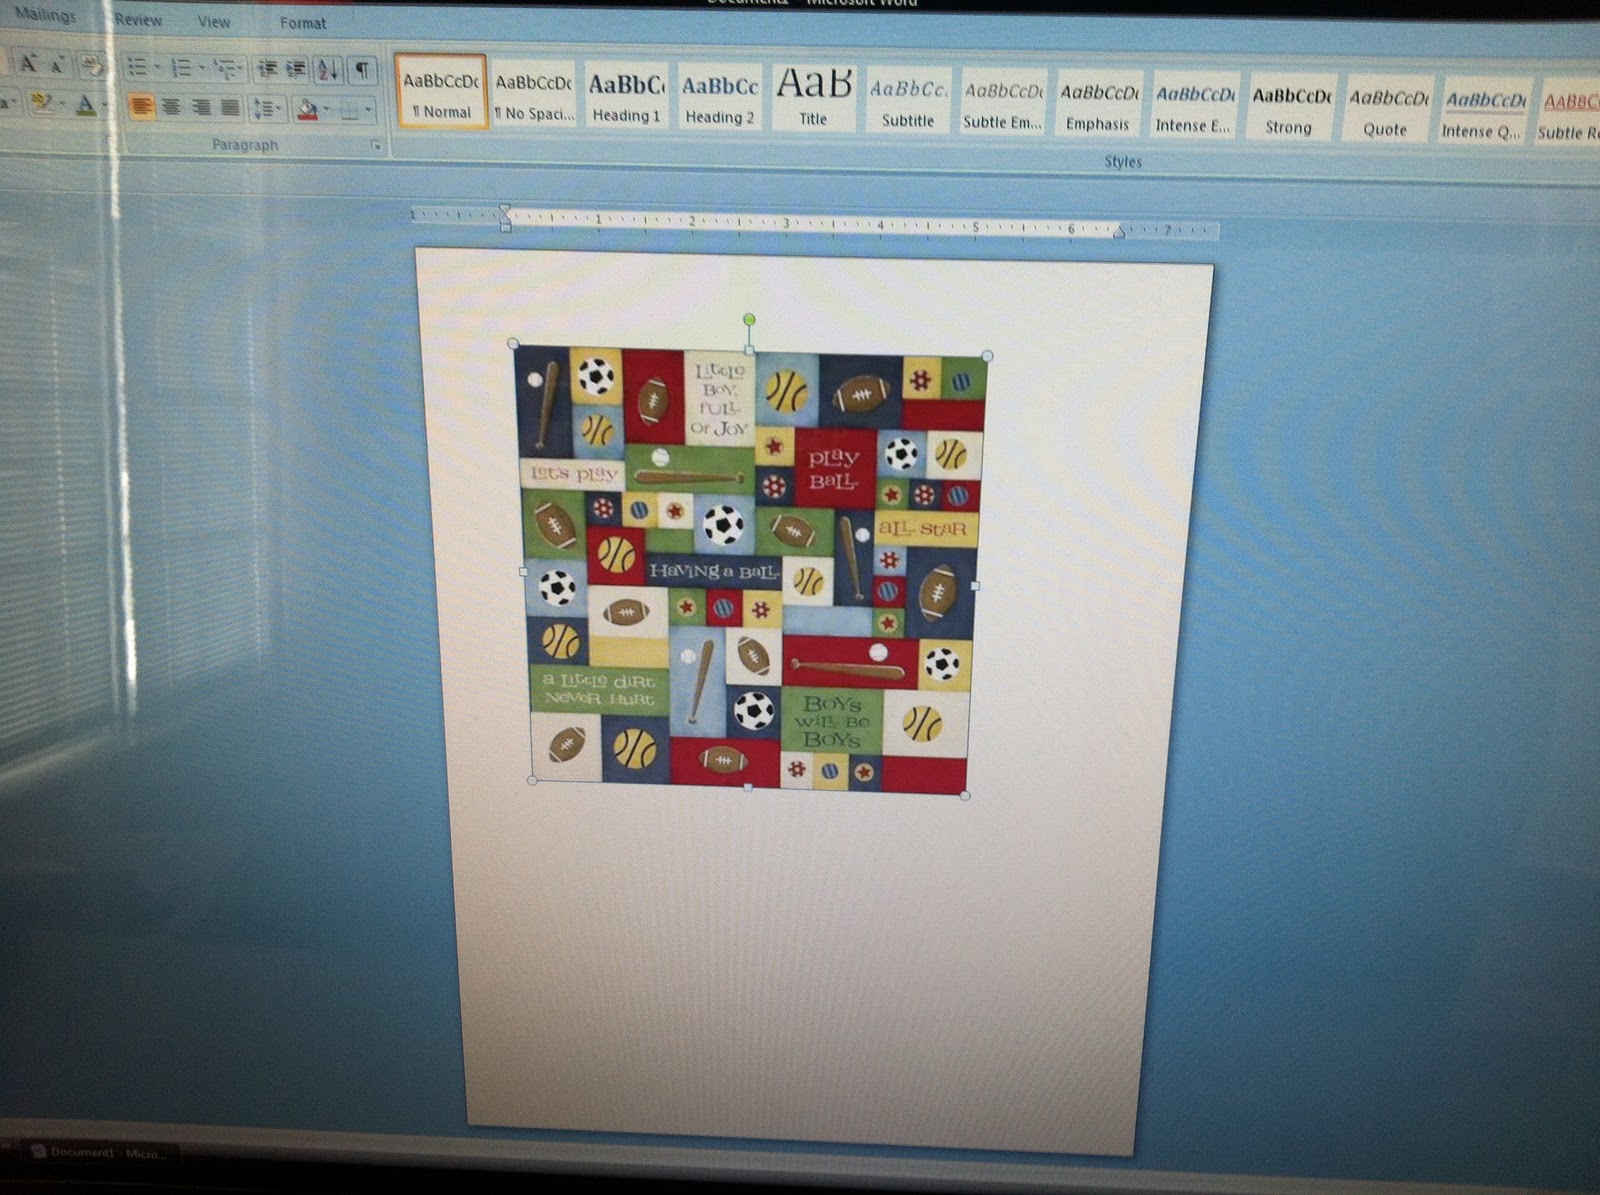
website with 3 nativity silhouette images, which were pretty perfect!   I put the images in a WORD document and sized them evenly.  I made each picture 7" tall, so that there would be room in between the picture and the top of the frame mat. I printed the images out on vellum and laid them out to dry over night.  Vellum doesn't absorb ink like paper does, so it took a while for the images to dry completely. 

I had to put weight on the corners because the amount of ink on the paper made it curl up slightly.

I found some great frames at Michael's that were on sale for $4.99 each!!!

I purchased green "linen" scrapbook paper that was on sale $.16 per sheet!
I cut the paper down to the size of the vellum paper, lined it up, and taped it together!
The green behind the vellum is VERY faint in the frame, but it looks great!

I laid the paper in the frame and taped it to the mat.
This way the image didn't move or unalign itself after putting the frame back together!
I put tape on all 4 sides, to help keep the image flat.

I stapled fabric ribbon to the frame backing above the hanging hardware.
This way the picture can look like it is hanging by ribbon, but is securely on the wall with a nail!

Finally, I measured the wall, and found the center.  I hung the first picture in the middle of the wall, and hung the outside pictures at equal distances from the center picture.  I tacked the ribbon to the wall,  and made a small bow to finish the look.

I absolutely love the final product!  I think it looks great, and it is a perfect way to keep in kind why we celebrate Christmas!

Frames - 3 @ $4.99 each
Paper - 3 @ $.16 each
I already had the ribbon and vellum...
Total Cost $15.50

 - Jessica

Tuesday, November 8, 2011

Napkin Pillows!

I pulled all of the "Christmas Boxes" out of the attic today!  I know it is only November 7th, but I am pretty sure that I am nesting at this point, so cut me some slack!  We also moved into a new house in May of this year, so I have never decorated this house, and I wanted to see what I need to plan to purchase!!
So, down came the boxes, and out came the goodies!!  I had purchased some Christmas decor items after Christmas last year when they all went on sale!  I was excited to see them, because I had pretty much forgot that I bought them!  I bought these cute "Holly" accent pillows, and I made some snowflake pillows... so I put those out.  The pillows that stay on our couch year around are red, so I thought I could make them work, but I wasn't in love with them!
I had to run to Target for a few things and I had NO intention of buying anything to make pillows... but I came across these super cute napkins!  There are 2 napkins in the pack for $3.99 and they were 20"x20"... a perfect pillow!!!  How could I not jump on this!

I came back home, and after putting my daughter to bed, I broke out the napkins, and started pinning! 


I pinned the napkins together with the good side of the napkins together.

Then I sewed all the way around leaving enough room for my hand to stuff it! 
Flipped it inside out, and stuffed it with poly-fil, which I had already, of course!! 


I buy Poly-fil in 5 lb boxes, and I do it often!  I always have a generous amount on hand!

I stitched the opening together by hand, and voila... a napkin pillow was born!

I had 3 to make all together, and I think they look great!

Total Cost $12

 - Jessica

Sunday, November 6, 2011

A Touch of Fall

Tonight we had dinner with our small group!  It was such a fun evening, and since we were only missing one couple, we had 12 adults and 8 kids! As you can imagine, that is a LOT of people, and figuring out where everyone was going to sit was a big task!  Meredith & Brad were kind enough to host the dinner, and she made the task of seating a LOT easier!  She decided that the women and the children could sit in the kitchen, and the men could sit in the dining room.  That was much easier than trying to set up the seating in couples, and the kids would all be in the kitchen with the booster seats and children's tables.  She called me and asked me to whip up some place cards for the women's table, so that we could make sure each mom had a place near their children!  I was happy to help, and of course excited to have another craft to work on!

I created a Word document and made text boxes with decorative edging and pretty fonts!  I typed every name into a text box and then printed the document on ecru card stock.

I used my paper slicer to cut everything out very quickly and I divided them into piles... Women, Girl Children, and Boy Children!

I picked out 3 different "Thanksgiving" themed pieces of scrapbook paper, and used my cutter to cut pieces that were 4"x3.5"... that was just slightly bigger that the width of the printed place cards.

Then I folded the paper in half and used "photo split" stickies to affix the printed place card.  They looked great when I was finished!  I ran out of time or I would have decorated them with ribbon and buttons... oh well!  Maybe next time!

They looked great, and served the purpose of helping people find their seats!!
Total Cost $0.00!!  I just love free projects!!  

 - Jessica

Project Mod Podge

Since we purchased retired Pottery Barn Kids bedding for Brady, we are forced to look else where for coordinating "stuff" for his room.  There are several brands that I have taken a liking to, but nothing that I am IN LOVE with!
So, I am just pulling bits and pieces from different sets to make his room look finished!  I did the same thing in Abbie's room.  Nothing in her room is from the same set, but it all matches in color!

I looked yesterday at 2 different light switch plates, one from Target and one from CoCalo that I was looking at on Amazon.  I had almost decided to purchase the one at Target, but I just wasn't sold on it!  So, this morning... I had a bright idea!


I searched the internet for "sports scrapbook paper" and found an image that I loved!

I put the image in Word, and sized it big enough for the switch plate.  

Then I printed it out.  I layed the plate on the back of the image and traced it. 
I cut out the plate and the center hole for the switch.  


Then I took a little Mod Podge and coated the plate, and the back of the cut out image.  

I placed the image and continued the same on all of the sides!  I folded down the tiny corners that were left standing.

I dipped the screws into red paint so they would match, and let them dry.

I used a paper punch to push through the screw holes and mounted the plate to the wall!

I love the final product, and am so excited for the rest of this room to come together!!!  This may have taken me 15 minutes at the most... fast and easy, and free!!

Total Cost - $0.00!!!  I used the exsisting plate from the wall and printed the image.  I already had Mod Podge and a brush, so this cost me NOTHING!  That is my favorite type of project!!

 - Jessica

Saturday, November 5, 2011

Letters on the Wall

I have been planning Brady's nursery from the second we found out we were having a boy!  In all actuality... I was planning long before that!  It didn't take me long after the gender appointment to buy bedding, and start looking for furniture!

Now that all of that is done... all that is left is to paint and "personalize" the room!  I really wanted to put Brady's name on the wall like we did in Abbie's nursery... however I didn't want to do the same thing!  So, I looked and looked and looked for letters that I liked... and FINALLY found some!

Since we are doing a "sports" themed nursery, I really wanted the letters to look a little "varsity", however most letters that have that look are HUGE!

So, after a long search... I found these!  

I found a picture online of some letters that someone had painted to match the bedding that we have for Brady, and I was NOT paying $12/letter +shipping!  That order would have cost me about $70... are you kidding me!  If you have met me EVER, you know I would NEVER pay that kind of money for something that I could do in a day!
So, I purchased the letters for $1.49 each at JoAnns, and fortunately I already had all of the painting supplies!

I didnt have any painters tape, but I did have electrical tape, so I improvised!  

And it actually worked REALLY well!!  I painted each letter as the picture showed, and on the 2 solid colored letters I added a "sports" pop!

I printed out pictures of a baseball and a basketball and glued them to cardboard.  
Cut them out and glued them on!  

So, this project took me an afternoon.  However... I did stop a LOT to let a layer of paint dry before I continued!

I am pretty excited about the way they turned out!

I am even more excited about the idea I have for hanging them on the wall!!  You will have to wait and see what that is...

Total Cost for this project - about $7

 - Jessica

Friday, November 4, 2011

It's beginning to look a lot like Christmas...

During one of my many trips to Target this week, I couldn't help but notice all of the Christmas items that are now for sale!  Being that Christmas is my favorite holiday, and I enjoy decorating for it every year... I of course started thinking about all I have to do!  Since we are in a new house, I have no idea where all of my "decorations" will go!!  It is going to be so much fun, and I am so excited!

I decided that I wanted to do a project today, and I thought something pretty easy would be to convert my neutral wreath on the front door to a Christmas wreath!  So, off to JoAnn's I headed!
I had an idea in mind, so I purchase some red and green burlap fabric which was very inexpensive.  I only purchased an 1/8 of a yard, so I mean it when I say it was very inexpensive!  I had some buttons at home, as well as straight pins... so I was done with my shopping list!  As I roamed around the store I found some Christmas ribbon that I am IN LOVE with!!  It is fabric ribbon and of course it is wired... a antique Christmas plaid theme... LOVE!!  It was 40% off and I also had a coupon for 10% off my total craft purchase!

I headed home and began creating my vision!
I started cutting out leaves in red and green and attempted to sew them together... FLOP!!!
It is next to impossible to sew burlap, because the fabric just comes apart!

Plan B...
I cut a whole flower out of the burlap... one small and one large!  

Then I cut out a leave flower, and layered them.  

I placed the button in the middle, and pushed straight pins with yellow heads through the button holes and into the wreath.  That held all 3 layers of the poinsetta on as well.  I wanted to have a slight variation in color on the 2 red layers of the flower, so I inked one layer on each flower with off white ink. 

I just layed the flowers on newspaper and pressed the ink pad over the burlap.  

I used some of my new favorite ribbon to make a bow, at the top of the wreath, and tried something new by affixing the tails of the bow to the sides of the wreath!  I like the way it looks, however, I dont think I am finished!  I plan to grab a couple of add ons on my next visit to the craft store! 

Ribbon $7.80 (150 ft of fabric ribbon)
Burlap  $.99 (1/8 of yard in 2 colors, burlap was $3.99/yard)
Total for this project...  $8.80 (minus my 10% off total coupon is right at 8 bucks!!)

 - Jessica